
You know that feeling when you’re about to hit “Update” on a client’s WordPress site and your stomach tightens just a little? Yeah, we’ve all been there. One wrong move and suddenly pages won’t load, the admin panel throws errors, or everything goes white.
But here’s the thing: updates are non-negotiable. Security patches, performance improvements, compatibility fixes, they all matter. So the real question isn’t whether to update, but how to do it without losing sleep.
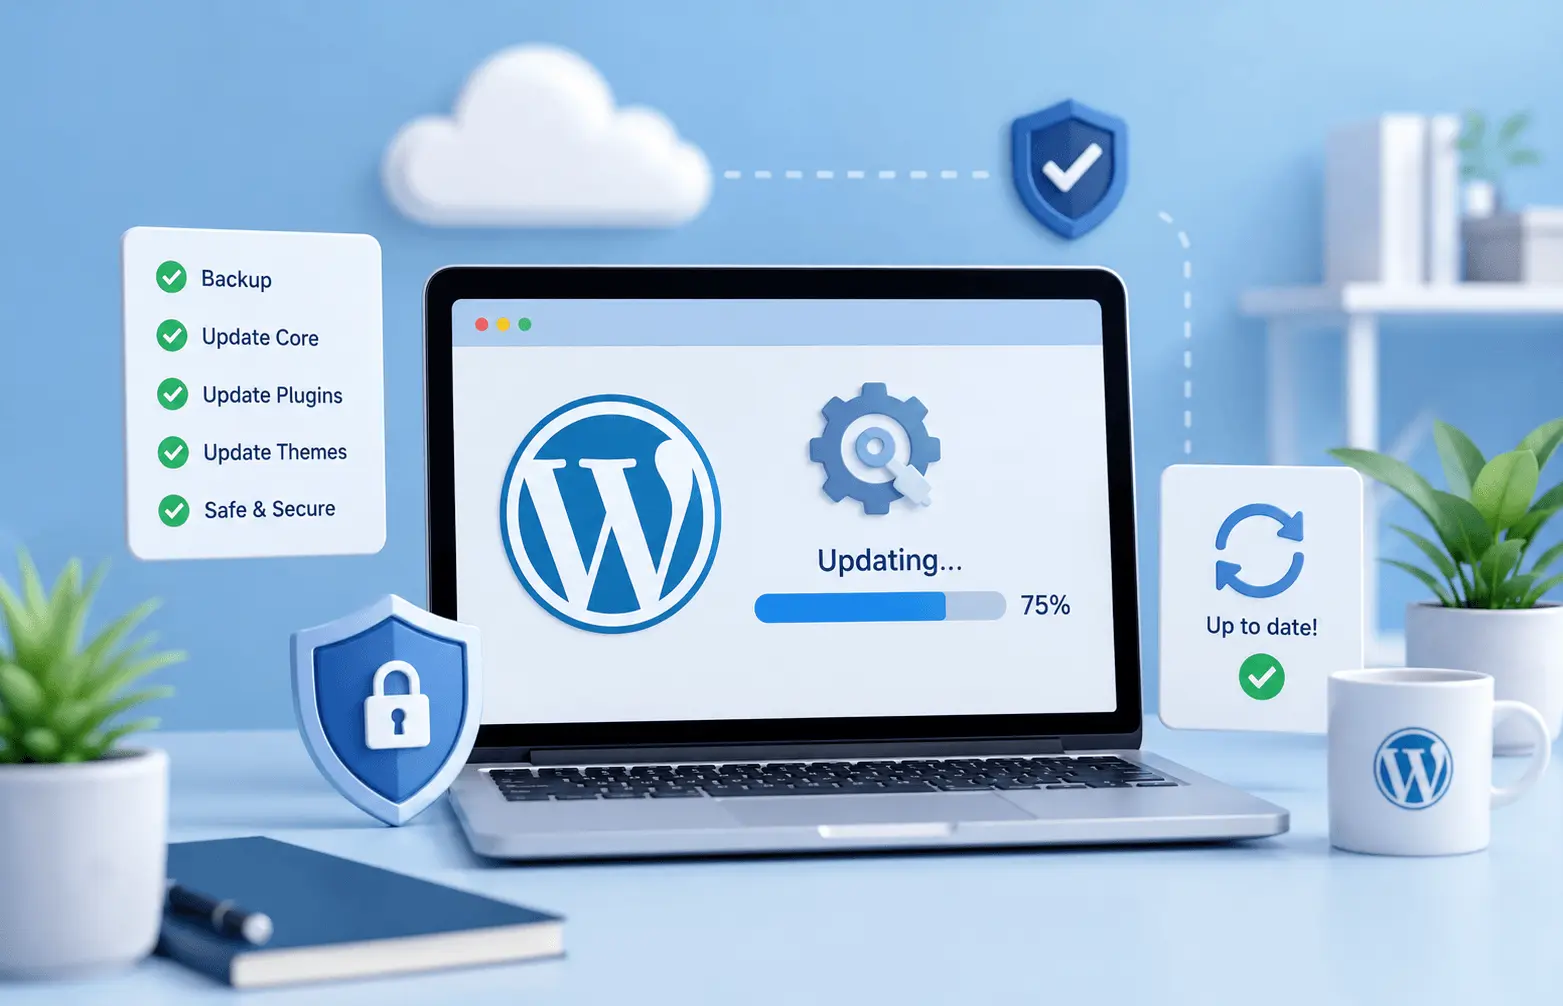
I recently went through a full update cycle on a client’s WordPress site, core, plugins, theme, and even the PHP version on the server. Everything went smoothly, and I want to walk you through exactly how I approached it. Think of this as your step-by-step safety net.
Why Updates Matter (And Why People Avoid Them)
Outdated WordPress installations are one of the most common reasons sites get hacked. Plugins with known vulnerabilities, an old PHP version with no security support, these are open doors for attackers. Performance is another factor; newer versions of PHP alone can make your site noticeably faster.
So why do people put off updates? Fear. Plain and simple. They’ve heard horror stories about broken sites, incompatible plugins, or the dreaded white screen of death. And honestly? Those fears aren’t unfounded if you update recklessly. But with the right process, you can eliminate most of the risk.
Step 1: Create a Full Backup
This is your insurance policy. Before touching anything, make a complete backup of your site, files and database. I cannot stress this enough. If something goes sideways, you need to be able to restore everything to its previous state in minutes, not hours.
For this particular project, I used WPVivid Pro, which handles full-site backups reliably. It captures your database, themes, plugins, uploads, the whole thing. Store that backup somewhere off-server too, whether that’s Google Drive, Dropbox, or a local download. You don’t want your backup sitting on the same server that might have issues.
Some people skip this step because “it’s just a small update.” Don’t be that person. Even minor plugin updates can occasionally conflict with something unexpected.
Step 2: Update WordPress Core
With your backup secured, start with the WordPress core. This is the foundation everything else sits on, so it makes sense to update it first. Go to Dashboard → Updates and apply the latest version.
Why core first? Because plugin and theme developers typically build compatibility with the latest WordPress version. Updating plugins before core can sometimes create a weird in-between state where things don’t mesh properly.
After the core update, do a quick check. Load your homepage, check a few internal pages, make sure the admin dashboard is responsive. Nothing fancy, just confirm the basics still work.
Step 3: Update Plugins One by One
Here’s where patience pays off. Don’t hit “Update All” and hope for the best. Update each plugin individually, and check your site after each one. Yes, it takes longer. Yes, it’s worth it.
Why? Because if something breaks after updating five plugins simultaneously, you have no idea which one caused the problem. Update them one at a time, and you’ll know exactly where the issue lives.
In my case, the site was running Elementor (the page builder), Polylang (for multilingual functionality), and several other plugins. Elementor updates in particular can sometimes affect page layouts, so I paid extra attention after that one. Polylang needed a careful check too, multilingual sites have more moving parts, and translation connections can occasionally hiccup after updates.
A quick tip: if a plugin has a major version jump (say from 3.x to 4.x), read the changelog first. Major versions sometimes introduce breaking changes or deprecate features you might be using.
Step 4: Update Your Theme
Once plugins are sorted, move on to your theme. In this case, it was Blocksy, a solid theme that gets regular updates. Theme updates can affect layout, typography, custom CSS, or widget areas, so give your site a thorough visual check afterward.
Browse through different page templates, check mobile responsiveness, and verify that any customizations you’ve made are still intact. If you’re using a child theme for custom modifications, those should be safe, but it never hurts to confirm.
Step 5: Upgrade PHP Version Gradually
This is the step most people either skip entirely or rush through. Upgrading PHP is arguably the most impactful change you can make for performance, but it’s also where things can break if your code isn’t compatible.
Here’s my approach: don’t jump straight to the latest version. If your site is running PHP 7.4, don’t leap directly to 8.3. Instead, step up gradually:
- 7.4 → 8.0
- 8.0 → 8.1
- 8.1 → 8.2
- 8.2 → 8.3
At each level, test your site thoroughly. Some plugins or custom code might use deprecated functions that were removed in newer PHP versions. By going incrementally, you catch these issues early and can address them before moving higher.
Most hosting providers let you switch PHP versions from the control panel (cPanel, Plesk, or a custom dashboard). Some even offer a staging environment where you can test PHP changes without affecting the live site, use that if it’s available.
In my case, everything worked cleanly all the way up to PHP 8.3.30. But I’ve seen situations where a single outdated plugin throws fatal errors on PHP 8.x because it relies on functions that no longer exist. Catching that at PHP 8.0 is much easier to troubleshoot than discovering it at 8.3.
Testing Between Each Step
I’ve mentioned testing throughout, but let me be specific about what “testing” actually means in practice:
- Load the homepage and several internal pages
- Test forms (contact forms, search, login)
- Check WooCommerce checkout if it’s a shop
- Verify multilingual switching works (if applicable)
- Test on mobile and tablet viewports
- Check page load speed, regressions here might indicate a problem
- Look at browser console for JavaScript errors
You don’t need to click every single link on the site, but cover the critical user journeys. If your client’s site has specific functionality like booking systems, membership areas, or custom calculators, test those specifically.
What to Do If Something Goes Wrong
Despite your best efforts, sometimes things break. Here’s your recovery playbook:
Minor issues (visual glitches, a widget out of place): Check if the plugin or theme has a known conflict. Often a cache clear or a quick CSS fix resolves it.
Major issues (white screen, fatal errors, site down): Restore from your backup immediately. Don’t spend hours debugging on a live client site. Restore, then investigate in a staging environment.
PHP-related errors: Drop back to the previous PHP version through your hosting panel. This is instant and gets the site back online while you figure out which component isn’t compatible.
The backup you made in Step 1? This is exactly why you made it.
Final Thoughts
Updating WordPress doesn’t have to be stressful. The key is having a systematic approach: backup first, update in order (core → plugins → theme → PHP), go one step at a time, and test between each change. It’s methodical, maybe even a bit tedious, but it works.
The whole process on my client’s site took maybe an hour. That’s an hour well spent for better security, improved performance, and peace of mind knowing everything is current and compatible.
Build this routine into your maintenance workflow, monthly or quarterly depending on how many updates accumulate, and you’ll never find yourself staring at a broken site wondering what went wrong.
Need help updating your WordPress website? If you’d rather leave it to someone who does this regularly, I’m happy to help. Drop me a message through the contact form below and we’ll get your site up to date safely.